KDG Login Label Mail Merge
Instructions for creating Mail merge labels for kindergarten login information.
Instructions for creating Mail merge labels for
kindergarten login information.
The first thing you will need to do is run a quick export from PowerSchool for each of your building locations.
-Open PowerSchool, choose the location you want, then click on the letter “K” in the grey line under the search bar. (This will pull up your enrolled kindergarteners.)
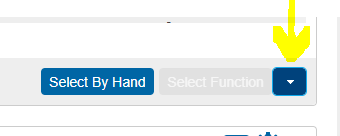
-Click on the blue down arrow button
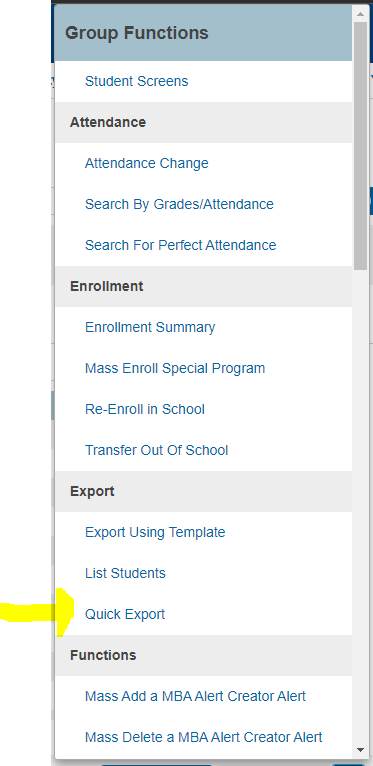
- When the menu comes up, choose "Quick Export"
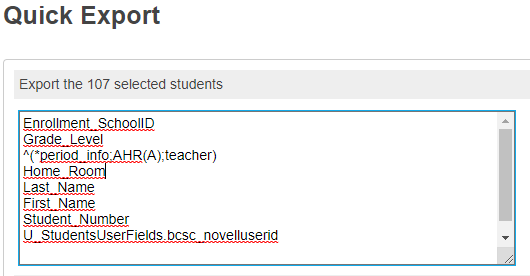
-Copy the following and paste into the box
Enrollment_SchoolID
Grade_Level
^(*period_info;AHR(A);teacher)
Home_Room
Last_Name
First_Name
Student_Number
U_StudentsUserFields.bcsc_novelluserid
It should look like this:
-Click "Submit"
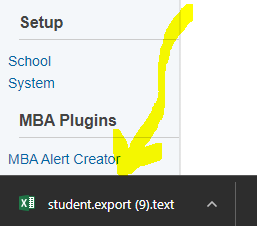
-An Excel file should show on the bottom of your screen. Click on it to open.
Once the Excel file opens
-Save the file with a specific name that you can find easily (ei. Taylorsville KDG List)
-Click "File"
-Click "Save As"
-Name and "Save"
Your browser does not support HTML5 video.
-(ensure it has the Excel file extension so it saves in the proper format)
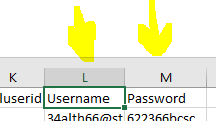
-Title a column Username (Cell L1 is usually a good place to start)
-Title a column Password (Cell M1 is good, so you do not have to search far in the next
step)
-In the cell below the word “Username” enter the following formula:
=H2&”@students.bcsc.k12.in.us”
- you will see that the cell is surrounded in green with a small dot on the bottom
right-hand corner, click on this dot, hold the button down and drag to the end of
your column list of information. This should populate
username@students.bcsc.k12.in.us for the entire column
-In the cell below the word “Password” enter the following formula:
=G2&”bcsc”
- you will see that the cell is surrounded in green with a small dot on the bottom
right-hand corner, click on this dot, hold the button down and drag to the end of
your column. This should populate password+bcsc for the
whole column.
Your browser does not support HTML5 video.
Your browser does not support HTML5 video.
Open Microsoft Word
*SEE VIDEO AT THE END FOR THE FULL WALKTHROUGH*
-Start a new blank document
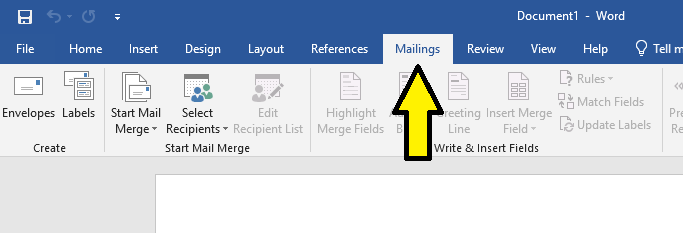
-Go to the “Mailings” tab
-Click on “Start Mail Merge”
-choose Labels
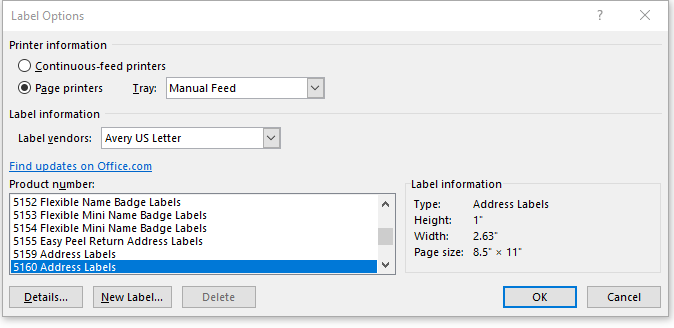
-in Label vendors, choose “Avery US Letter”
-in Product number, choose “5160 Address Labels”
-Click on "OK"
-Click on “Start Mail Merge” again
-choose “Step-by-step Mail Merge Wizard”
-Make sure “Labels” is the selection
-Click on “Next: Starting document”
-Select “Use the current document”
-Click on “Next: Select Recipients”
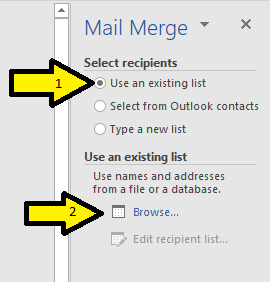
-Make sure “Use an existing list” is the selection
-Click on “Browse…”
-Find and select the Excel workbook t you saved (ei. “Taylorsville KDG List”)
-A window will pop up asking you to Select Table, click “OK”
-A window will pop up showing "Mail Merge Recipients", click "OK"
-Click on “Next: Arrange your labels
-Type the following in the first label:
Name:
Username:
Password:
-Click on “More Items…” on the right of the screen
-Click on the field Last name, First name
-Click on "Last Name"
-Click on "Insert"
-Click on First Name
-Click on "Insert"
-Click on close
-Click on the field “Username” next to the word Username:
-Click on “Insert”
-Click ‘close’
-Click on “More Items…”
-Click on the field “Password” next to the word Password:
-Click on “Insert”
-Click on “close”
-Click on “Update all labels”
-Click on “Next: Preview your labels
If the information looks correct,
-Click on “Next: Complete the merge”
-Click on “Print…”
A window will pop up “Merge to Printer”
Make sure “all” is marked then click “OK”
Select your printer, insert label sheets in the printer as needed, then click “OK”

